

Description
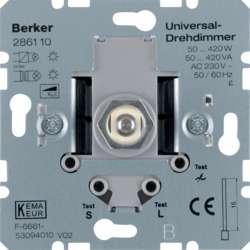
Dimmer, Universal Dimmer, Transformer, Halogen, Incandescent, Rotating
Busch-Jaeger 6591U-101 properties
| Product name | 6591U-101 |
| Type | Dimmer |
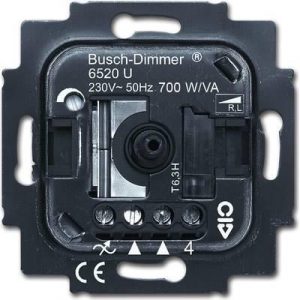
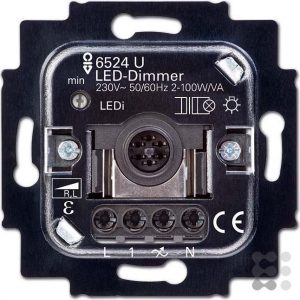
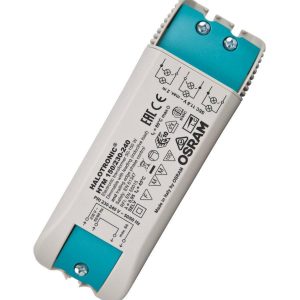
| Dimmer | Transformer, Universal Dimmer |
| Suitable for lamp type | Halogen, Incandescent |
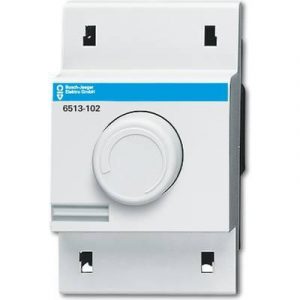
| Rotating or Touch | Rotating |
| Voltage | 230 V |
Jacqueline –
As a general manager living in Chicago, I purchased the Busch-Jaeger 6591U-101 dimmer product in October. After several months of use, I would rate it a 3 out of 5 possible stars.
One thing I appreciate about this dimmer product is that it is a transformer dimmer, which allows for more precise control of the lighting. However, I find that it can be a bit finicky and difficult to operate at times, which can be frustrating.
In comparison to other electrical accessories that I have used in the past, I would say that the Busch-Jaeger 6591U-101 is slightly above average. While it does have some quirks, it generally performs well and gets the job done.
As for delivery of this electrical accessory to Chicago, I was pleased with the shipping process. It arrived in a timely manner and was well-packaged, which gave me peace of mind knowing that it was protected during transit.
Overall, while the Busch-Jaeger 6591U-101 dimmer product isn’t perfect, it is a decent choice for anyone in need of a transformer dimmer for their lighting needs.