Arlo AAD1001

£45.63

Description

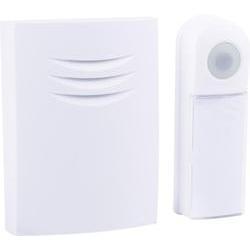
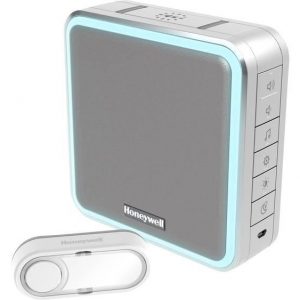
Doorbell, Video Dorbell, White, Black

Arlo AAD1001 properties

Product nameAAD1001
TypeDoorbell
DorbellVideo Dorbell
ColourBlack, White
Number of Ringtones1 pcs
Max Temp.45 °C
Min Temp. (minus)2 °C
Height9.2 cm
Width4.5 cm
Depth2.7 cm
Weight75.0 g

Additional information

Product name

Product type

Dorbell

Colour

,

Number of Ringtones

Max Temp.

Min Temp. -minus

Height

Width

Depth

Weight

1 review for Arlo AAD1001

  1. Destiny

    As a food preparation worker in Connecticut, I am always on the lookout for convenient and efficient Electrical Accessories that I can use in my day-to-day work. That’s why I decided to purchase the Arlo AAD1001 in August.

    While I appreciate the lightweight design of this product, I have to say that overall, I was slightly disappointed with its performance. Although it does the job, I feel like there are other Electrical Accessories out there that do a better job at the same price or less.

    In terms of delivery, I received my Arlo AAD1001 in a timely manner, which was great. However, I do wish that the packaging was a bit more secure, as there was some damage to the product when it arrived.

    Overall, I would rate the Arlo AAD1001 at 3 out of 5 possible stars. It’s definitely not a bad product, but I think there are better options out there at this price point.

Add a review

Your email address will not be published. Required fields are marked *

Frequently Asked Questions:

What is the recommended placement and mounting process for the Arlo AAD1001 outdoor siren, and how do I connect it with my existing Arlo cameras system?

The recommended placement of the Arlo AAD1001 Outdoor Siren is near your Arlo base station where it has a strong Wi-Fi signal. Ensure that the siren is placed in an accessible and secure area to avoid unwanted tampering. You should also mount it at least 5 feet above ground level, away from sources of noise like HVAC systems or water faucets.

To connect your Arlo Outdoor Siren with your existing Arlo cameras system, follow these steps:

1. Install the Arlo app on your smartphone if you haven't done so already.
2. Log into your Arlo account using your email address and password.
3. Tap the "Add Device" button located at the bottom of the screen.
4. Choose "Arlo Siren" from the list of available devices.
5. Follow the on-screen instructions to complete the setup process. This may include scanning a QR code, pairing the siren with your base station, and testing its functionality.
6. Once connected, you can customize various settings such as alarm sounds, activation time, and trigger events for when the siren will sound (e.g., motion detection, sound detection).

Remember to always test your Arlo Outdoor Siren after installation to ensure it's functioning properly and providing adequate protection for your property.

How do I properly install and set up the Arlo AAD1001 electrical accessory for use with my Arlo system?

To install and set up the Arlo AAD1001 electrical accessory, please follow these steps:

1. Ensure that your Arlo system is compatible with the Arlo AAD1001. The AAD1001 is designed for use with Arlo Pro 2, Arlo Q Plus, and Arlo Go systems. Locate a power source near where you want to install the electrical accessory. The AAD1001 is compatible with standard AC outlets (110-240VAC). Insert the electrical accessory into the included mounting plate. The plate can be mounted using screws or adhesive strips, depending on your preference. Plug the power adapter into an AC outlet and connect it to the electrical accessory using a standard Ethernet cable. The adapter should be placed near the electrical accessory, but not too close as to cause overheating. Connect the electrical accessory to your Arlo system using the Arlo app on your mobile device or computer. Follow the instructions provided by the app to complete the setup process. Place your Arlo camera(s) near the electrical accessory for optimal performance. The AAD1001 can provide power to up to six cameras simultaneously, as long as they are all within a 15-foot radius of the accessory. Test your Arlo system to ensure that it is functioning properly with the new electrical accessory in place. Check for any issues with connectivity, motion detection, or video quality. If you encounter any problems during installation or setup, refer to the user manual provided by Arlo for additional guidance and support. You can also contact Arlo customer service for assistance.