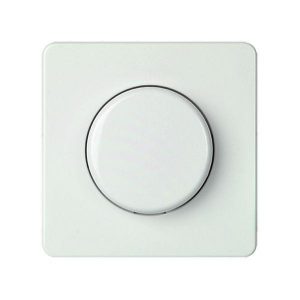
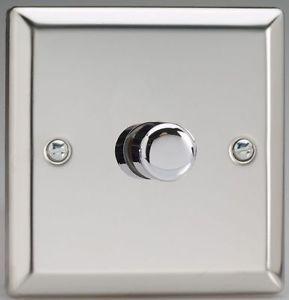
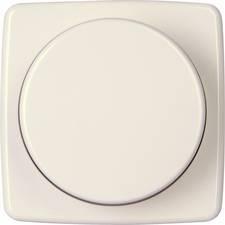
Description
Dimmer, Wall dimmer, Indoor, Halogen, Incandescent, Touch, IP 20
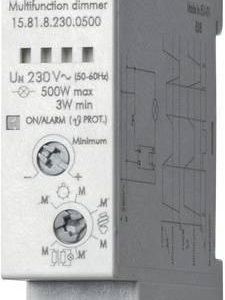
Zamel DIP-01 properties
| Product name | DIP-01 |
| Type | Dimmer |
| Dimmer | Wall dimmer |
| Suitable for lamp type | Halogen, Incandescent |
| Area of Use | Indoor |
| Max load Incandescent | 350 W |
| Min load Incandescent | 15 W |
| Rotating or Touch | Touch |
| Voltage | 230 V |
| IP Classification | IP 20 |
| Height | 1.5 cm |
| Width | 5.0 cm |
| Depth | 5.0 cm |
| Weight | 25.0 g |
Frequently Asked Questions:
What is the purpose of the yellow wire in the Zamel DIP-01 circuit?
(Note: Assuming the yellow wire is not the power cord.)
The purpose of the yellow wire in the Zamel DIP-01 circuit is to provide a ground connection for the electronic components., helping to reduce electrical noise and improve the overall performance of the device.
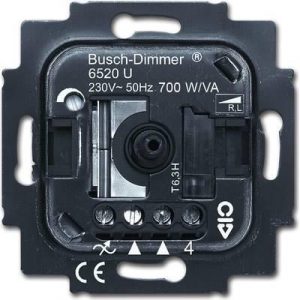
How do I properly install and wire the Zamel DIP-01 electrical accessory in my home's electrical system?
To properly install and wire the Zamel DIP-01 electrical accessory in your home's electrical system, follow these steps:
1. Turn off power to the circuit that you will be working on at the main electrical panel. This will help prevent any electrical shock hazards during installation. Identify the wiring configuration for your specific Zamel DIP-01 model. The wiring diagram should be included in the product packaging or available from the manufacturer's website. Connect the black (hot) wire from the circuit to the brass terminal screw on the accessory. Use a wire nut to secure the connection tightly. Connect the white (neutral) wire from the circuit to the silver terminal screw on the accessory. Use another wire nut to make this connection. If your Zamel DIP-01 model requires a ground connection, connect the green or bare copper wire from the circuit to the green screw on the accessory. Again, use a wire nut to secure the connection tightly. Install the cover plate over the accessory to complete the installation process. Turn the power back on at the main electrical panel and test the functionality of your newly installed Zamel DIP-01 accessory. If all is working properly, you can consider the installation complete!
Remember, it's always important to follow proper safety precautions when working with electricity, so be sure to turn off power to the circuit before starting and use caution when handling wires and electrical components.
"How do I properly install and connect the terminals on the Zamel DIP-01 electrical accessory?"
To properly install and connect the terminals on the Zamel DIP-01 electrical accessory, follow these steps:
1. Gather your tools: You'll need a screwdriver, wire strippers, and pliers. Determine which wires will be connected to each terminal: Consult the wiring diagram that came with the Zamel DIP-01 or the manufacturer's instructions for guidance. Typically, the power supply (hot) wire goes to the terminal marked "L," the neutral wire goes to the terminal marked "N," and the ground wire goes to the terminal marked "G. Strip approximately ¼ inch of insulation from the end of each wire using your wire strippers. Bend the stripped ends of the wires into a U-shape with pliers. This will help ensure a secure connection when you attach them to the terminals. Insert the stripped end of the hot wire (L) into the terminal marked "L" and push it in until it snaps into place. Repeat for the neutral wire (N). Connect the ground wire (G) to a suitable grounding point, such as the vehicle's chassis or a dedicated grounding wire. Make sure the wire is securely attached and that the terminal on the Zamel DIP-01 is also connected to the grounding point. Secure the terminals in place using the provided screws or clips. Tighten them firmly, but avoid overtightening, which can damage the wires or terminals. Connect any additional wiring or components as necessary, following the manufacturer's instructions carefully. Test the electrical accessory to ensure it's functioning properly. If you encounter any issues, double-check your connections and make adjustments as needed. By following these steps, you should be able to install and connect the terminals on the Zamel DIP-01 electrical accessory safely and efficiently.


Reviews
There are no reviews yet.