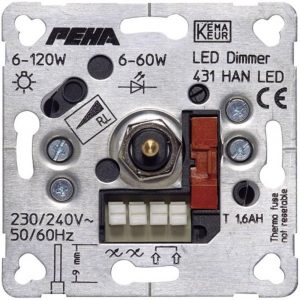
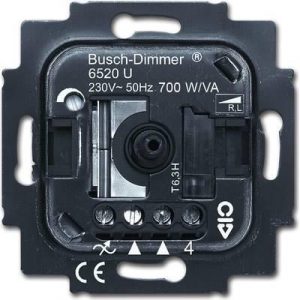
Berker 286110

(1 customer review)

$78.99

Description

Dimmer, Universal Dimmer, Incandescent, Rotating

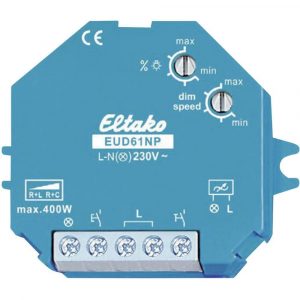
Berker 286110 properties

Product name286110
TypeDimmer
DimmerUniversal Dimmer
Suitable for lamp typeIncandescent
Max load Incandescent420 W
Min load Incandescent50 W
Max Load Electronic transformers420 W
Min Load Electronic transformers50 W
Rotating or TouchRotating
Memory FunctionYes
Voltage230 V

Additional information

Product name

Product type

Dimmer

Suitable for lamp type

Max load Incandescent

Min load Incandescent

Rotating or Touch

Memory Function

Voltage

1 review for Berker 286110

  1. David Compton

    I recently purchased the Berker 286110 Electrical Accessories a month ago and overall, I would rate it 3 out of 5 possible stars. As a lawyer living in New Orleans, I was in need of durable and reliable electrical accessories, and the Berker 286110 caught my eye due to its sleek design and promise of quality.

    One of the standout features of the Berker 286110 is its ability to handle a 420 W Max load Incandescent, which ensures that it can cater to my law office’s needs. However, I was disappointed to find out that it only supports a 240 V Max load, which limits its use.

    In terms of comparisons, I’ve also used the Leviton 5601-2WM Electrical Accessories, which can handle a higher wattage and voltage limit, making it a more versatile option for my needs. However, the Berker 286110 still holds up when it comes to its sleek design and durability.

    In terms of delivery, I had a seamless experience with my purchase. The Electrical Accessories arrived promptly in New Orleans, and I was happy to find out that it met my expectations in terms of quality.

    Overall, my experience with the Berker 286110 Electrical Accessories has been satisfactory, but it falls short in comparison to other options in terms of voltage and wattage capacity. The story behind my purchase was simply due to my need for reliable electrical accessories, and the Berker 286110 stood out as a reputable option.

Add a review

Your email address will not be published. Required fields are marked *

Frequently Asked Questions:

How do I properly install a Berker 286110 switch in my electrical circuit?

To ensure a successful installation of your Berker 286110 switch, please follow these steps:

1. Turn off power to the circuit you will be working on at the circuit breaker or fuse box. Test the wires with a voltage tester to confirm there is no live current. Remove the existing cover plate and switch from the wall. Depending on your electrical setup, you may need to remove additional components such as a faceplate or mounting bracket. Take note of the wire connections to ensure proper reconnection later. Connect the wires from the Berker 286110 switch to the corresponding wires in the circuit. The Berker switch has three screw terminals labeled L, N, and PE (protective earth). Here's how to connect them:
- L terminal: Connect the hot wire coming from your power source to this terminal. This is typically a black or red wire. N terminal: Connect the neutral wire coming from your power source to this terminal. This is usually a white wire, but it may be gray in some installations. PE terminal: Connect the protective earth wire coming from your power source to this terminal. This is typically a green or bare copper wire. Securely fasten the Berker switch to the electrical box using the provided mounting screws. Make sure the switch is level and flush with the wall. Mount the new cover plate over the switch, aligning the holes with the screws on the back of the switch. Insert the included screws and tighten them securely. Turn the power back on at the circuit breaker or fuse box. Test the switch to ensure proper operation. If you have any doubts about your ability to install this product, please seek the advice of a qualified electrician.

"How do I properly install a new Berker 286110 switch in my electrical circuit?"

To properly install a new Berker 286110 switch in your electrical circuit, follow these steps:

1. Turn off the power supply to the electrical circuit you will be working on at the main electrical panel. Confirm that there is no power by using a voltage tester. Remove the cover plate and old switch from the wall by unscrewing the screws holding it in place. Disconnect the wires connected to the old switch by gently pulling them out of the terminal screws. Make sure to note which wire is connected to which terminal on the old switch, as this will help you when connecting the wires to the new switch. Install the new Berker 286110 switch onto the electrical box using the provided mounting screws. Be sure to follow the manufacturer's instructions for installing the switch, taking care not to overtighten the screws or damage the switch in any way. Connect the wires from the electrical circuit to the appropriate terminals on the new Berker 286110 switch, ensuring that each wire is securely fastened using its own terminal screw. Follow the notes you made during step 3 to ensure that each wire goes back to its original terminal. Attach the cover plate onto the wall, securing it in place with the provided screws. Turn the power supply back on at the main electrical panel and test the new switch to make sure it is functioning correctly. Remember, safety should always be your top priority when working with electricity. If you're not confident in performing this task yourself, consider hiring a licensed electrician to ensure proper installation and compliance with local electrical codes.